Bulk import from CSV
When you need to onboard more than a few people at once, the CSV import lets you create — and optionally invite — many users in a single step. It also lets you assign courses to those users as part of the same upload.
Opening the importer
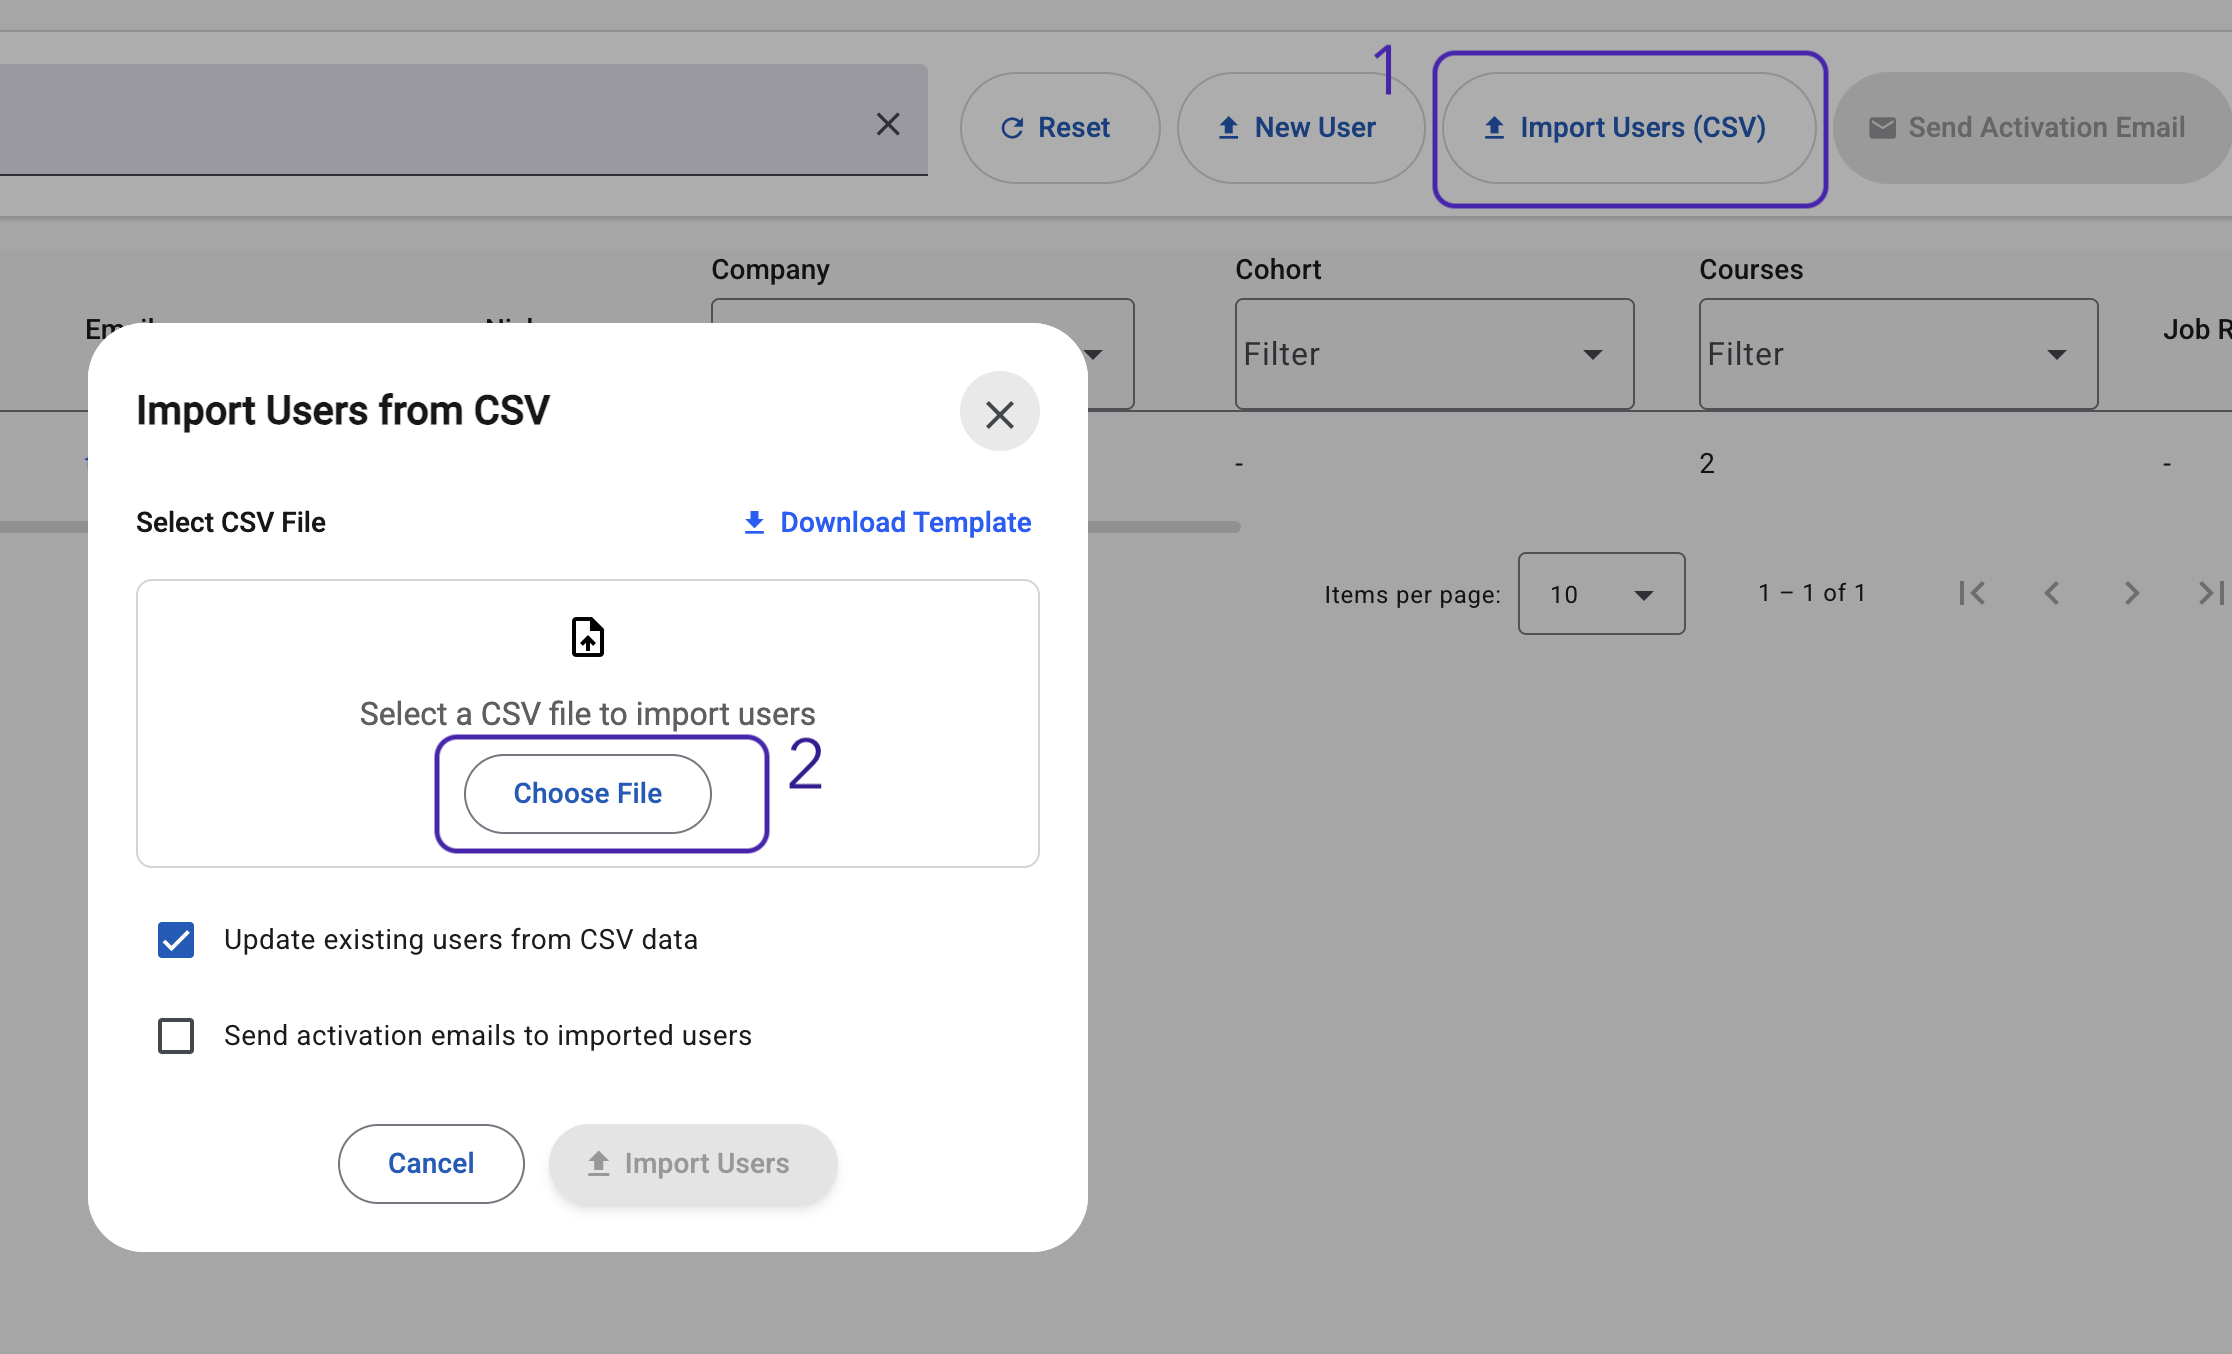
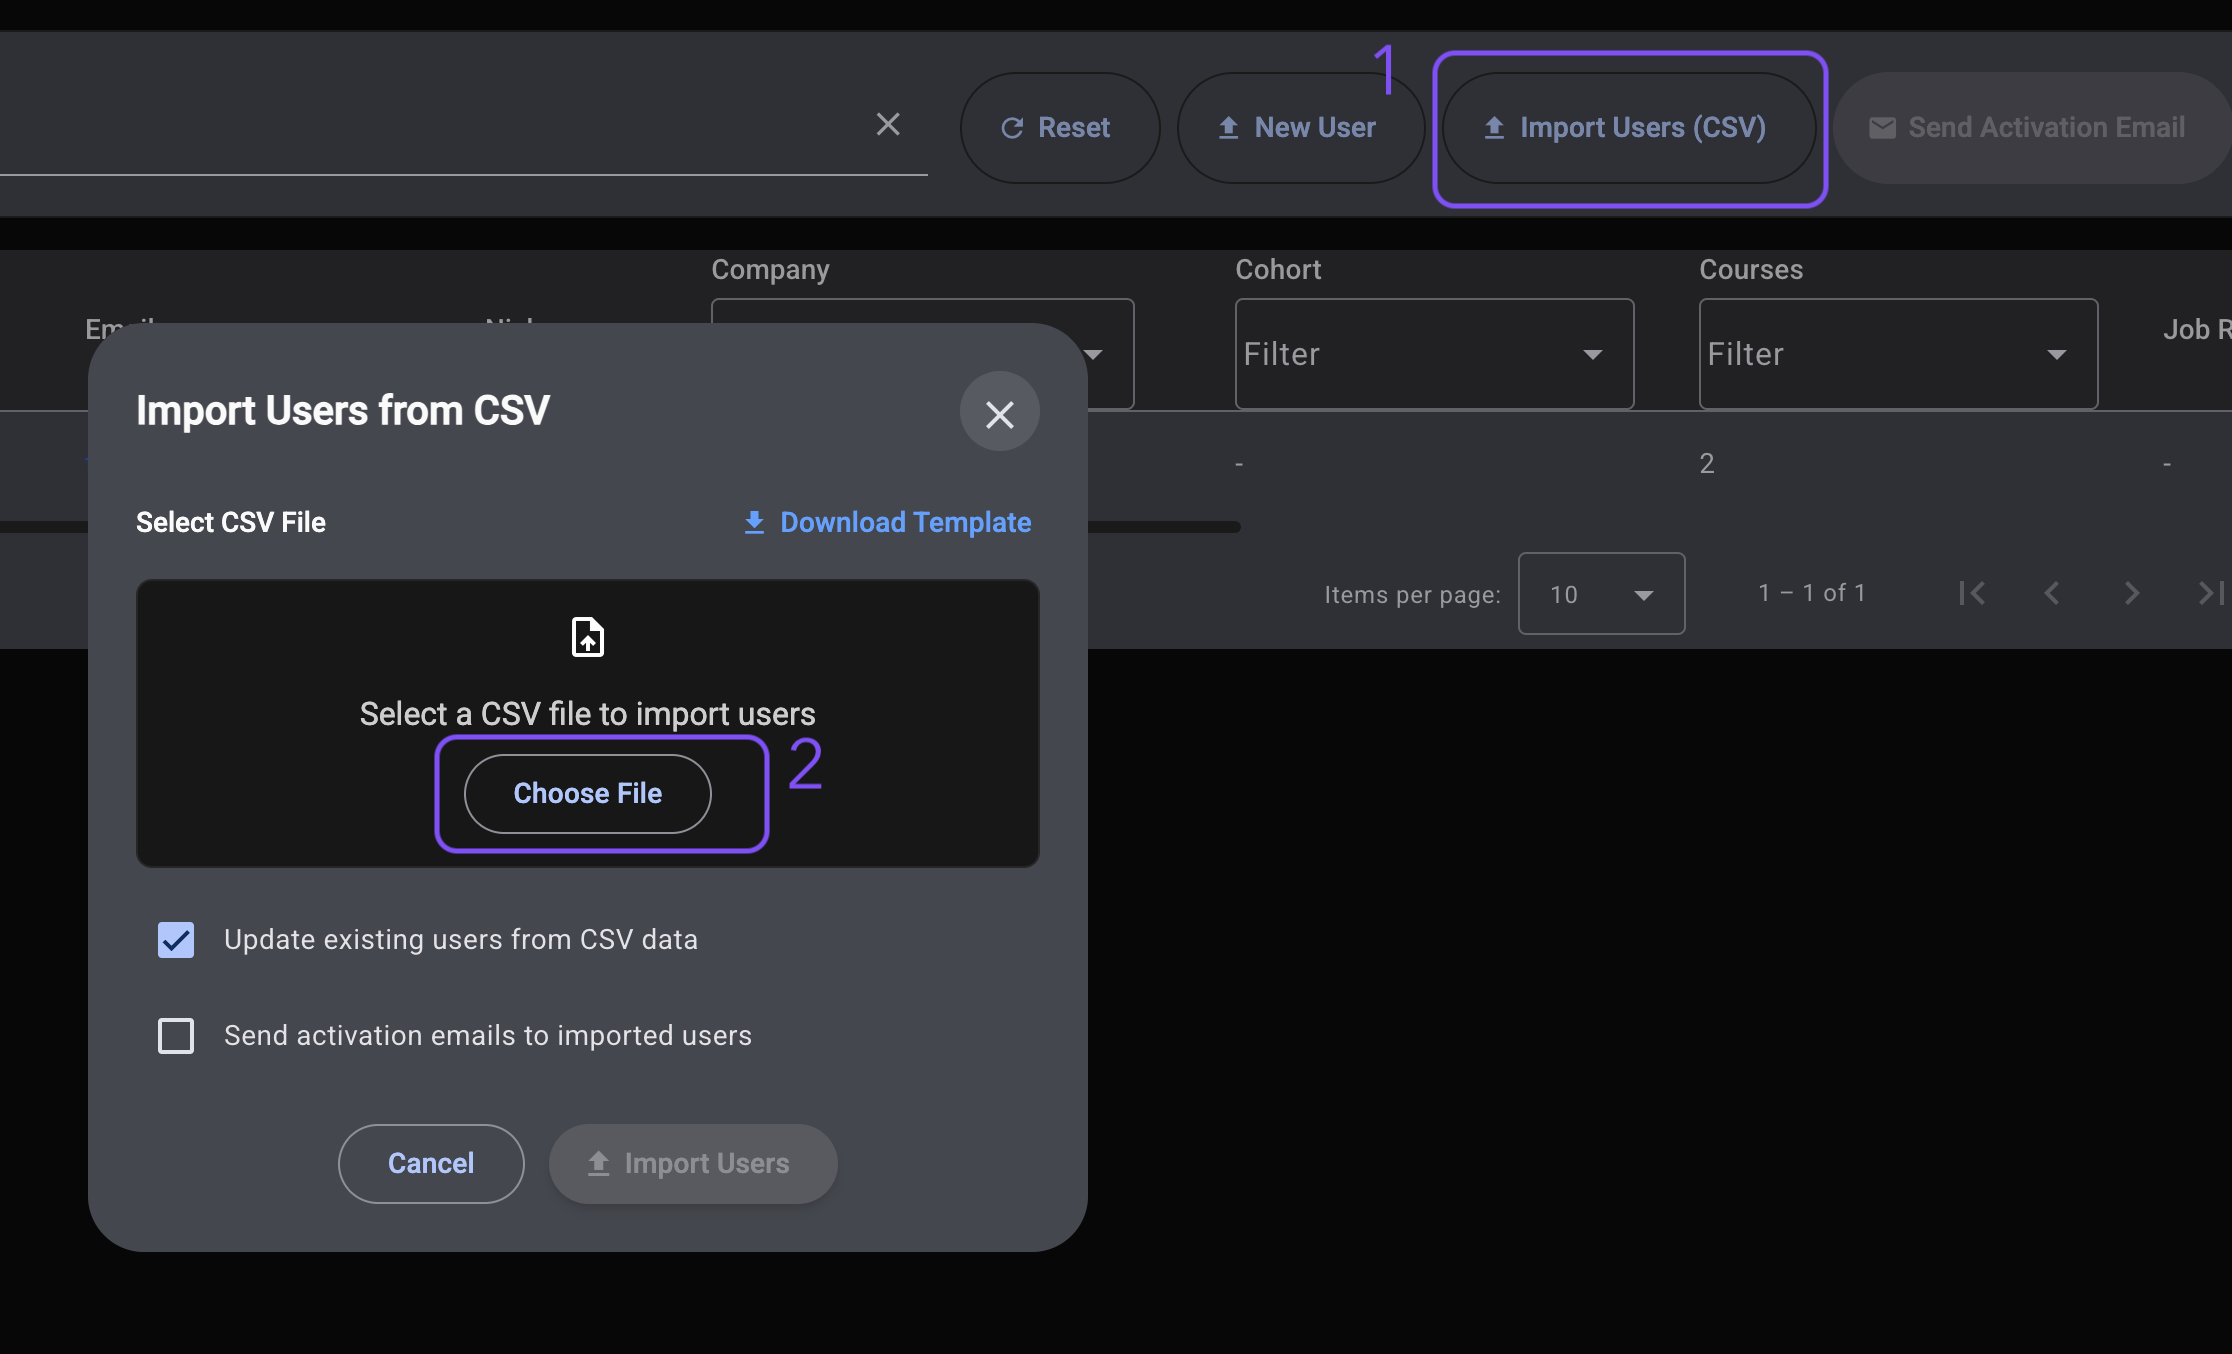
From the user list, click the Import users button in the actions bar. A dialog opens that walks you through the upload.
Preparing your CSV
The importer expects a CSV file with a specific column layout. The fastest way to get it right is to click Download template in the dialog and use the file it provides as your starting point.
Columns
The template includes the following columns:
| Column | Required | Description |
|---|---|---|
enabled | yes | 1 to enable the user, 0 to create them disabled. |
name | yes | First name. |
last_name | no | Last name. |
email | yes | The user's email address. Must be unique. |
companyName | yes | The name of the company the user belongs to. |
cohortName | no | The name of a cohort to add the user to. Leave empty if none. |
languageCode | yes | Course language code, for example en-GB. |
job_role | no | Free text describing the role. |
region | no | Free text describing the region or location. |
module requested 1, module requested 2, … | no | Titles of courses to assign to the user. Add as many columns as you need — one per assigned course. |
The "module requested" columns are how you assign courses during import. You can add as many of them as you like; users without a particular column simply leave it empty.
Column names must match the template exactly, including case. For example, companyName works but companyname or CompanyName will be rejected. The safest approach is to start from the downloaded template and edit only the rows, never the header.
Running the import
Once you have your file ready:
- Choose the file with Select file. The importer validates that it's a CSV.
- Decide what to do with users who already exist:
- Update existing users — when checked, any user already in the system that appears in the file will have their details updated. When unchecked, existing users are left untouched and reported as skipped.
- Decide whether to invite new users immediately:
- Send activation emails — when checked, newly created users will receive their invitation email automatically as part of the import. When unchecked, no emails are sent and you can invite users later from the user list (see Sending invitations).
- Click Import to upload the file.
The import runs server‑side and may take a moment for large files.
Reading the results
When the import finishes, the dialog shows a summary with counts for:
- Created — users that were newly added to the platform.
- Updated — users that already existed and were updated with values from the file (only when "Update existing users" was checked).
- Skipped — users that already existed and were not changed.
- Course assignments — how many course assignments were created across all users in the file.
Click on any of the summary counts to expand a list of the corresponding users so you can verify what happened.
Exporting the result
For your own records, the importer can export the full result in two formats:
- Export as JSON — a structured file containing the summary plus the lists of created, updated, and skipped users.
- Export as CSV — a flat file with one row per user, including their status (
created,updated, orskipped) and the courses that were assigned to them.
Both files are timestamped so they're easy to keep alongside your own onboarding records.
Tips and gotchas
- The
emailcolumn is the unique key for each user. Re‑importing a file is safe as long as you're comfortable with the chosen "Update existing users" behaviour. companyNameandcohortNamemust match existing names exactly. If you're importing for a brand‑new cohort, create it first (see Cohorts).- Every course title under "module requested N" must match a course your company has access to. If any title in the file can't be matched, the entire import is rejected and no users are created — the error message lists the unmatched titles along with the company they were expected to belong to. Fix the titles in your CSV (or create the courses first) and re-upload.
- Course title matching is case‑insensitive and tolerates minor whitespace and dash differences, but you should still aim to copy titles verbatim from the platform to avoid surprises.