Adding a single user
When you need to onboard one person the quickest way is to add them directly from the user list.
tip
If you're onboarding more than a handful of people at once, the bulk CSV import is usually faster.
Opening the form
From the user list, click the New user button in the actions bar at the top. A dialog opens with a short form.
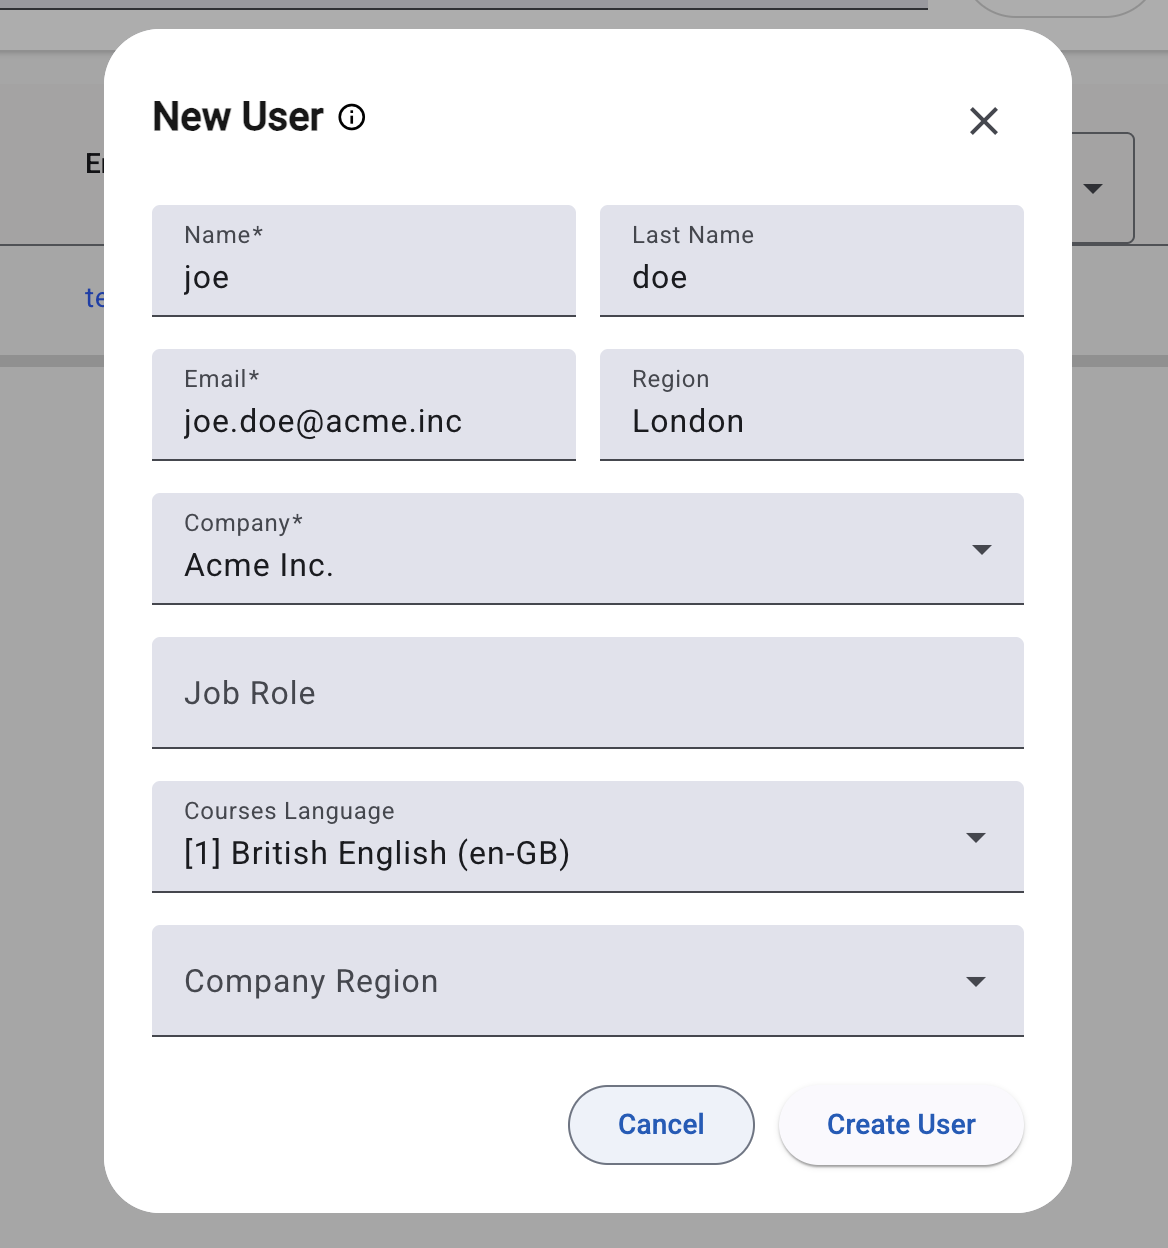
What to fill in
The form collects the essentials for creating a user account:
- First name — required.
- Last name — optional, but recommended.
- Email — required, and used as the user's unique identifier and sign‑in address.
- Region (free text) — optional free‑text field describing the user's location.
- Company — required. The list shows the companies you have access to.
- Job role (free text) — optional free‑text field for context.
- Course language — required. The default language used when the user is presented with content.
- Company Region — optional, and tied to the company you select. The region list populates automatically once a company is chosen.
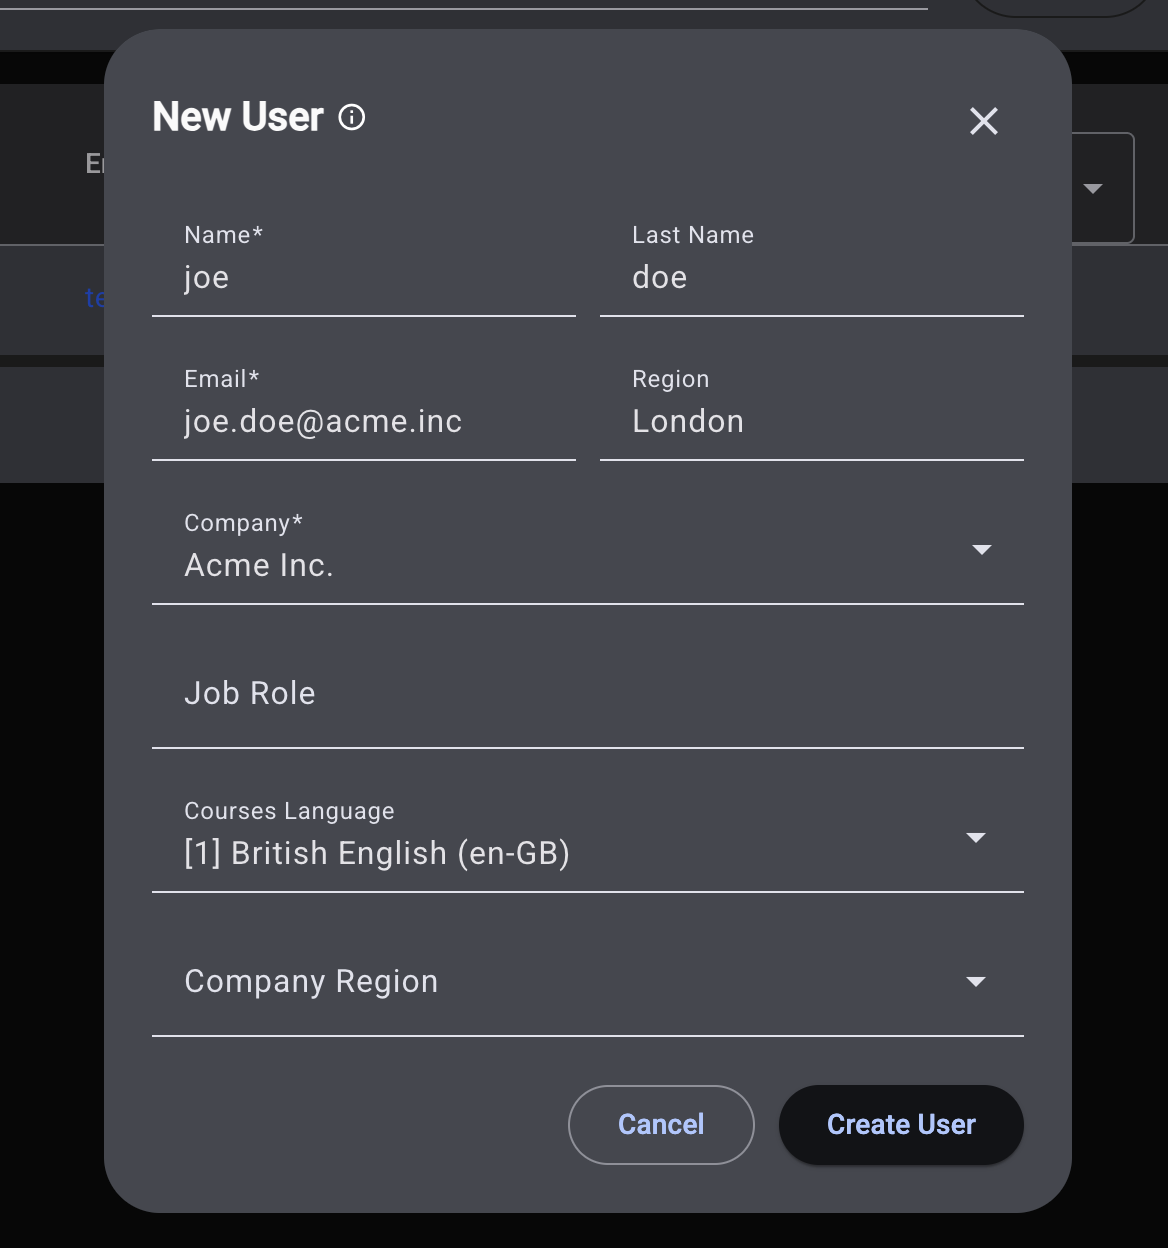
Saving
Click Create to save the user. Once the user is created they'll appear in the user list and you can immediately open their detail view to assign courses or add them to cohorts.
Creating a user does not automatically send them an invitation to sign in. To invite them, follow the steps in Sending invitations.